DIY: Christmas Light Decorations
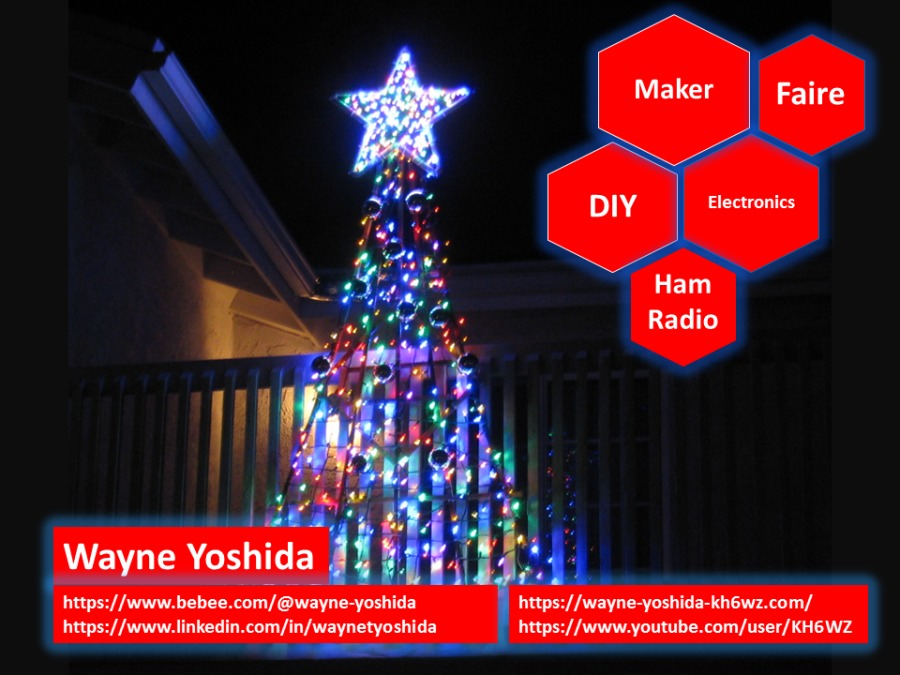
Over the past several years, I have been finding ways to streamline the time it takes to decorate my house at Christmas. Previously, I had to drag out the ladder and string out the lights onto little hooks on the rafters and other places, taking up more than a full day of work. The worst part of all this decorating is the next phase: Everything that goes up must be taken down and stored for the following year.
At first, I decided to eliminate using a ladder. Not so easy on a two story house. But, by decorating only the balconies and deleting anything along the rafters, this can be done.
Then I decided I didn’t want to use those irritating hooks along the rafters and balcony railings.
Following some award-winning techniques of my friend Peter, my Christmas chore of decorating the house now takes less than 15 minutes, once the decoration is completed.
The secret: Build frames and create different “scenes” to simply hang onto surfaces or supports. Last year, I had three lighted trees and three sequenced “HO” signs so the message was Santa’s traditional “Ho, ho, ho,” greeting.
These scenes take many hours to create and build, but once completed, the installation can go very quickly. For an example of Peter’s over-the-top creations, take a look at the Newport Beach Christmas Boat Parade and Peter’s entry called D25. Peter’s rule on how many lights is: There is never too much.
This year, I decided to cut back and installed just one tree. I added a new tree-topper star as you can see in the photo above. The star came from an after Christmas sale at the local Ikea store several years ago (KALLT Silhouette Light). Since it is rated for indoor use only, I removed the lights (white LEDs) and replaced them with energy-efficient LEDs. One whole package of 150 LEDs is used on the star.
Safety Message
Remember, this project uses AC line voltage. Although Peter’s rule is in place, I would like to add one statement: Make sure you do not exceed ratings of your outlet or the strings you connect together. Most light sets come with extra fuses in case you plug in one too many light strings.
Materials
Lights of your choice. Remember to select outdoor lights, since the decoration will be exposed to winter weather. Out here, this means rain and wind. Incandescent lights are brighter than LEDs, but use more energy. Decide if you want one color or multiple colors on your decoration. Flashing, shimmering or steady, your choice.
A frame. As mentioned above, the star is from Ikea. Use your imagination. The “tree” supporting the star is a wooden trellis turned upside down. Sort of looks like a tree.
I have used 1/2-inch PVC pipe and various fittings to make letters (the “HO” sign from last year). If you leave some fittings without glue, the display can be folded for storage.
Plastic netting. This can be found in the garden section at any hardware store. This is used to “fill-in” the frame. If you had a Lite-Brite when you were a kid, you can understand this concept.
Wire or cable ties. Also called “zip ties.” Black is preferred, since any other color may be seen when the lights are on. I used natural nylon for the star, since I have thousands of these ties on-hand.
Hooks or small rope to support your creation. I use 1/8-inch nylon rope to tie onto my balcony. Clamps may be used, but be careful. If something “let’s go,” your decoration will crash to the ground and might hurt someone. Not good for the family and friends gatherings.
Flat black spray paint, optional. Use this to hide the frame. I should have done this with the white framed star, but I skipped this step.
Timer, optional but recommended. Instead of wiring your light display to a switched outdoor outlet, consider powering your project with an automatic timer. Be aware some timers require a minimum current load in order to function properly. This is important if you are using energy saving LEDs instead of incandescent lights.
Computer controller, optional. Some amazing computer controllers are available to animate your displays. I don’t use them, but take a look at this supplier for some crazy-amazing ideas.
Building the Star
Using a pair of scissors, shears or tin snips, cut the plastic mesh to size and use wire ties to fasten the mesh to your frame. The wire cutters you see at the bottom of the star is used to cut the wire tie "tails."
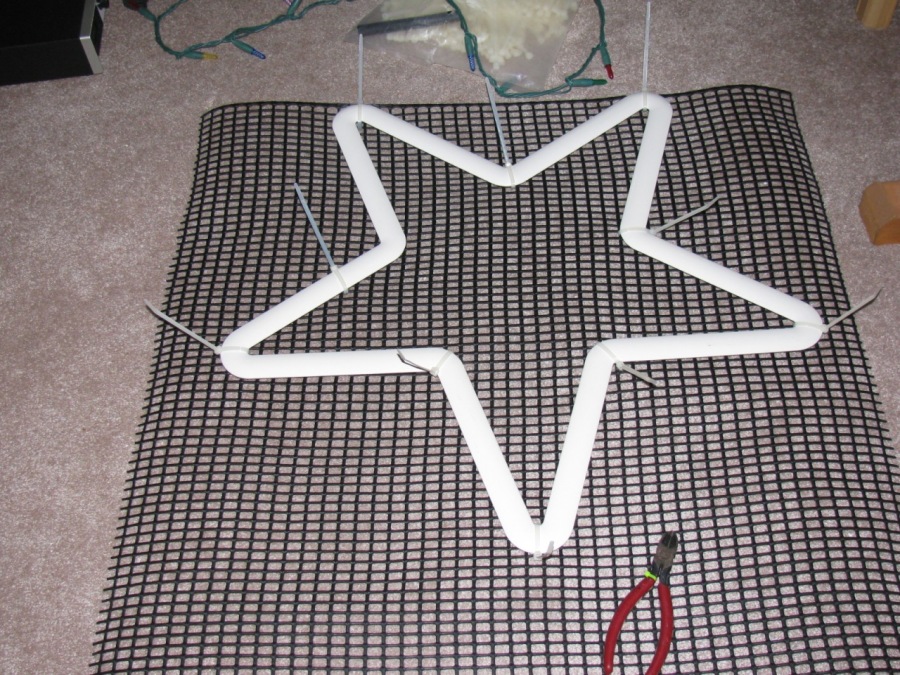
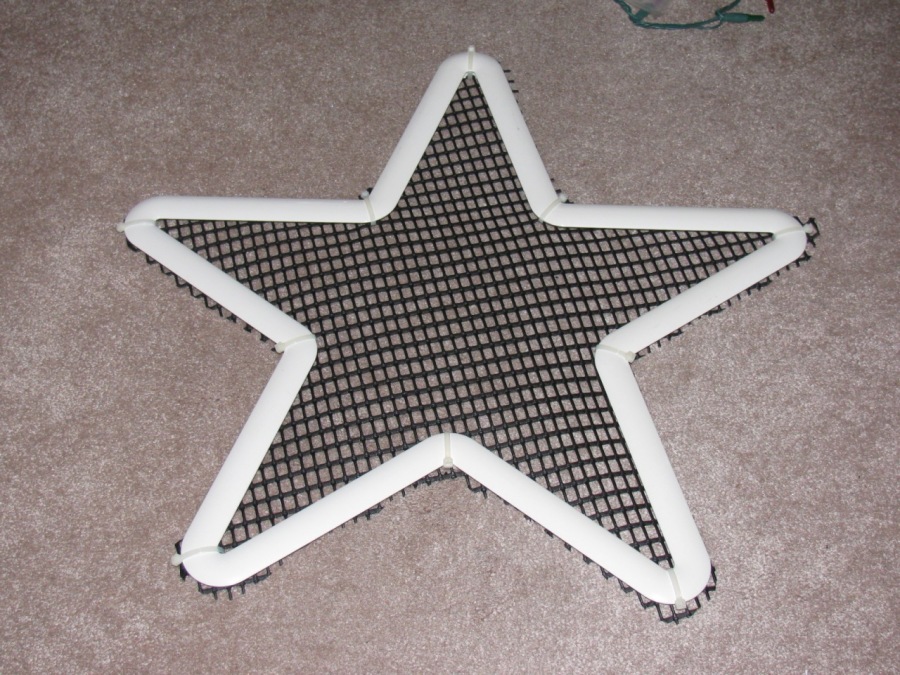
Then, trim the plastic mesh to shape with your shears. You may want to leave some extra netting around the object to allow mounting to a surface.
Poke each light into the holes in the mesh individually. Friction should be able to hold the lights in place, if there is any doubt, use a cable tie to fasten the lights or wires in place. This is what it looks like from the rear:
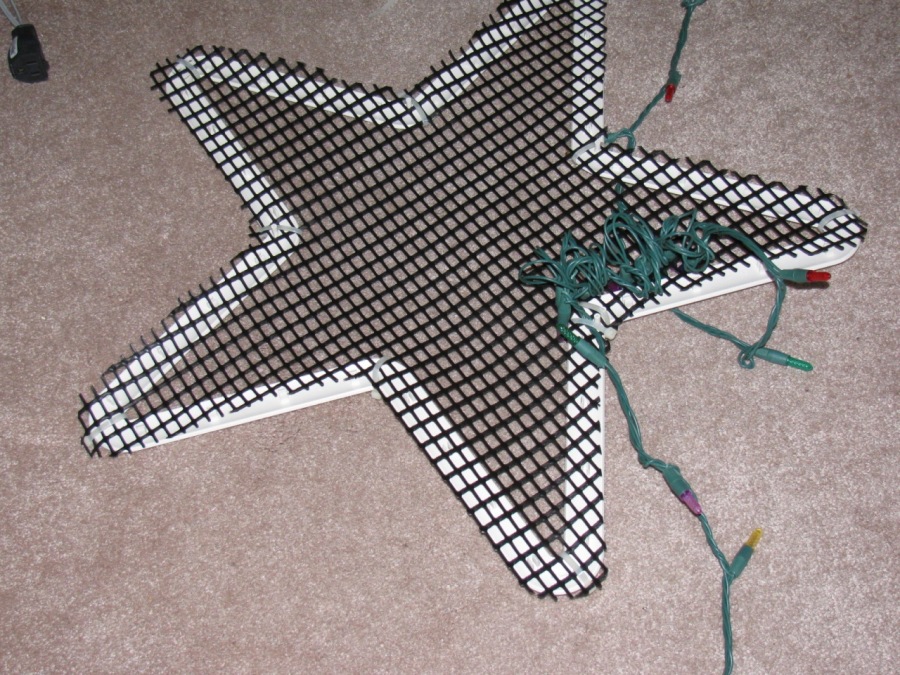
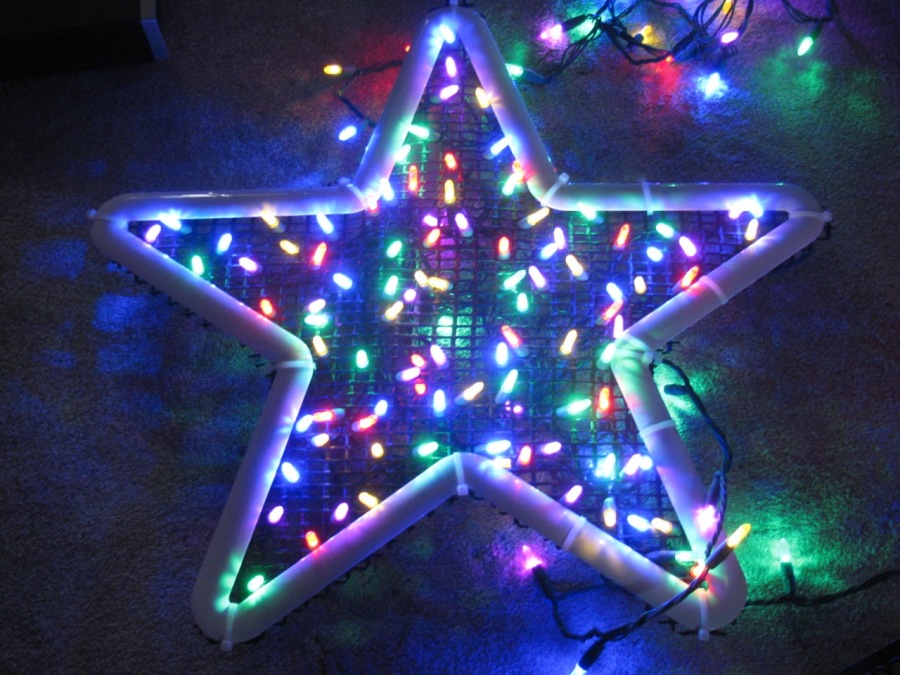
Here is a view of the star, still under construction, with the lights turned on:
And here is the finished star . . .
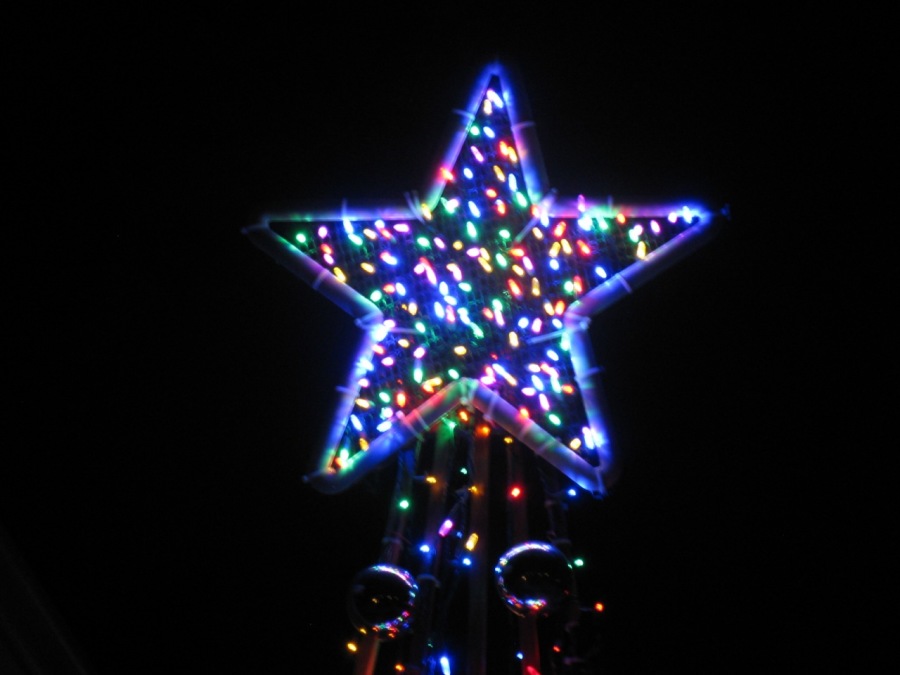
The star is a “building block” to give you something to think about. Consider making multiple stars, and switching them in a sequence to make a “shooting” or “falling” star. Think about lighting up that wire mesh reindeer from the hardware store (seen at several homes on your block) to make it unique. Or maybe a fleet of reindeer decked out with lights. . . .
Have a merry Christmas and a prosperous New Year!
About Wayne Yoshida

"""""""
Articles from Wayne Yoshida
View blog
I got stuck in an elevator yesterday. · Although I don’t have claustrophobia, this is one of my recu ...
Extreme wintertime weather may impact natural gas vehicle engine starting and performance. Low or de ...
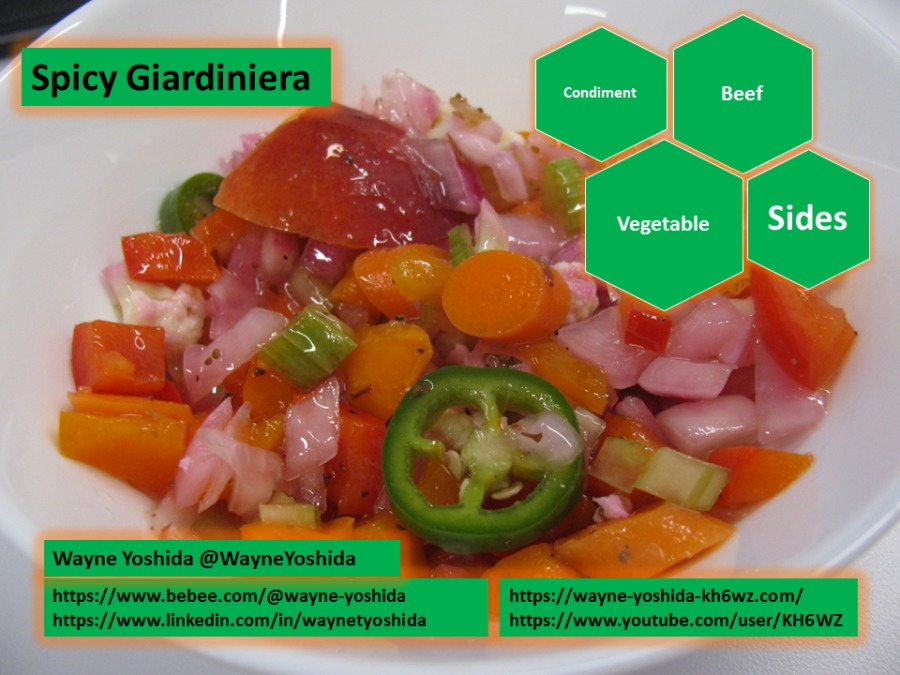
Fancy red, orange and yellow bell peppers were on sale last weekend, so I decided to make a batch of ...
You may be interested in these jobs
-

Seasonal Loader Operator
Found in: Jobget US C2 - 15 hours ago
CHS Inc Aneta, ND, United StatesCHS Inc. is a leading global agribusiness owned by farmers, ranchers and cooperatives across the United States that provides grain, food and energy resources to businesses and consumers around the world. We serve agriculture customers and consumers across the United States and ar ...
-

Specialist english
Found in: Jooble US O L C2 - 1 week ago
TruGreen Polk, OH, United States Full timeStart at $17 per Hour - Comprehensive Benefits · Start at $17 per hour · Average income is $850 - $1,200 per week* - Based on hourly rate and average bonuses earned for qualifying specialists meeting performance expectations · A job that keeps it interesting—no two days are al ...
-
Director, Implementation Science Center
Found in: One Red Cent US C2 - 6 days ago
West Virginia University Morgantown, United StatesDescription · Director, Implementation Science Center · Assistant/Associate Professor · West Virginia University Health Sciences Center · The West Virginia University School of Medicine, West Virginia University Cancer Institute, and the West Virginia Clinical and Translational S ...

Comments
Wayne Yoshida
7 years ago #1
Thanks Tony. I'd do it for free! Just fly me over. . .